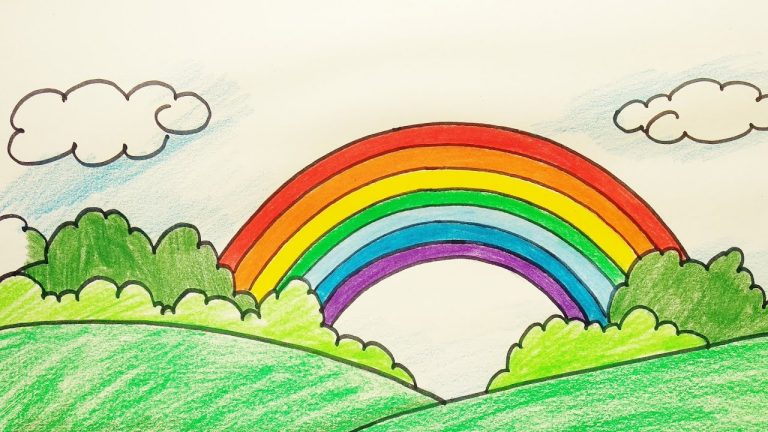
Drawing a rainbow is a delightful and creative endeavor that brings a burst of vibrant colors to any canvas. The process begins by sketching a gentle arc across the paper or surface, defining the curvature of the rainbow. Typically consisting of seven distinct hues, the rainbow’s colors, in order, are red, orange, yellow, green, blue, indigo, and violet. Each color seamlessly transitions into the next, creating a harmonious blend that captivates the eye.

A Guide to Rainbow Drawing
Rainbows are beautiful natural wonders, and capturing their vibrant colors and graceful arc on paper can be a delightful artistic journey. Whether you’re a seasoned artist or just starting out, this guide will equip you with the knowledge and steps to create stunning rainbow drawings.
Materials:
- Drawing paper (any type will do!)
- Pencils (HB, 2B, and 4B for different line thicknesses)
- Eraser
- Colored pencils, crayons, markers, paints, or any other coloring medium you prefer
- Sharpener (if using pencils)
- Optional: Compass, ruler, blending tools (for colored pencils)


Mastering the Basics of Rainbow Drawing
You’ve already laid a fantastic foundation with your “Guide to Rainbow Drawing,” and now let’s delve deeper into mastering the basics! Here are some additional tips and techniques to elevate your rainbow drawings:
Accuracy and Realism:
- Color Transitions: Pay close attention to how colors naturally blend in a real rainbow. The transitions are not abrupt, but rather subtle shifts with slightly overlapping hues. Use blending techniques like layering colored pencils or applying light washes with paint to achieve this effect.
- Light and Shadow: Consider adding subtle shading to the underside of the rainbow arc, where it blocks sunlight. This adds depth and dimension, making it appear more three-dimensional.
- Perspective: If you’re drawing a rainbow in a specific landscape, remember the principles of perspective. The rainbow’s arc should appear to recede into the distance, following the horizon line.
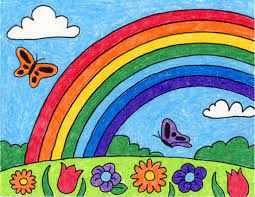
Creativity and Expression:
- Color Variations: Don’t limit yourself to the traditional seven colors. Explore different color palettes, using complementary colors or analogous colors for a unique look. You can even incorporate metallics or pearlescent shades for a touch of glamor.


Rainbow Drawing for Beginners
Let’s tailor this guide to be super beginner-friendly, keeping in mind the joy of creating and the simplicity of getting started.
Materials:
- Paper (any kind you have lying around is fine!)
- Crayons or colored pencils (a few bright colors will do)
- Pencil (optional, for light sketching)
- Big smile and a pinch of imagination!
Steps:
- Draw a big, happy smile: Yes, you read that right! Start by drawing a giant smile on your paper. This will be the base of your rainbow.
- Color the inside of the smile: Choose your brightest colors and fill the inside of the smile with them. Don’t worry about being perfect, just have fun!
- Add some fluffy clouds: Draw two or three puffy clouds above the smile, using white or light blue.
- Make it rain color! Draw short, diagonal lines coming down from the clouds towards the smile. These are your colorful raindrops! Use different colors for the raindrops, matching the colors inside the smile.


A Step-by-Step Rainbow Drawing
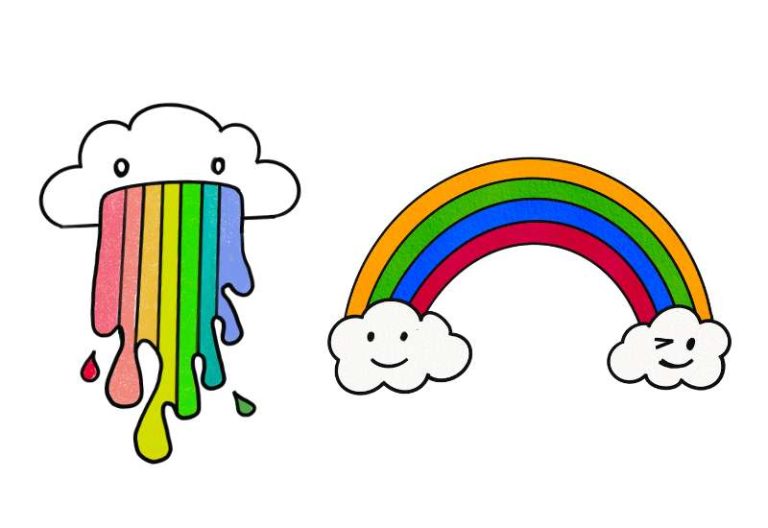
This option is perfect for beginners or young artists.
Materials:
- Paper
- Pencil
- Colored pencils, crayons, or markers
Steps:
- Draw a light curved line: Imagine a shallow “U” or a Nike swoosh symbol. This will be the base of your rainbow.
- Divide the arc: Lightly mark 7 sections on the arc, creating spaces for each color.
- Color the sections: Choose red, orange, yellow, green, blue, indigo, and violet (remember “Roy G. Biv”) and color each section with its corresponding color. Don’t worry about being perfect, just have fun!
- Optional: Add clouds: Draw fluffy clouds around the base of the rainbow.
Option 2: Realistic Arc
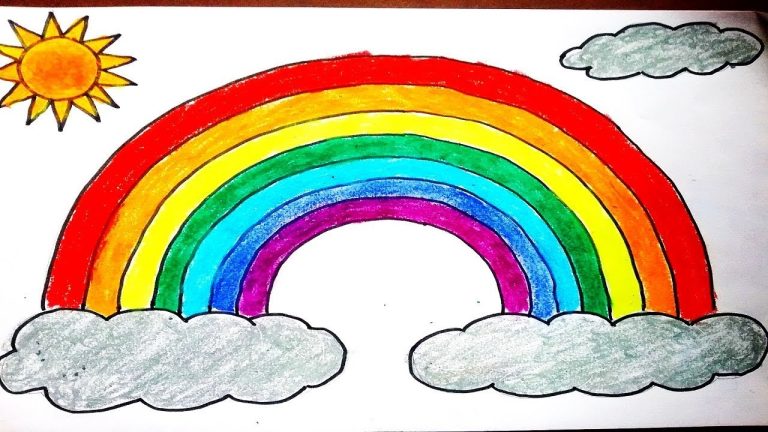
This option offers a bit more detail and is great for practicing accuracy.
Materials:
- Paper
- Pencil
- Eraser


Rainbow Drawing Techniques
Here are some techniques for drawing rainbows, catering to different artistic skill levels:
Beginner:
- Shape Play: Ditch the traditional arc and explore different shapes like hearts, spirals, or even a wavy line for a whimsical touch.
- Color Blending: Use crayons or oil pastels to create natural color transitions by simply layering and smudging different colors together.
- Texture Fun: Experiment with chalk pastels for a rough, textured look or glitter glue for a sparkly rainbow.
Intermediate:
- Double the Joy: Draw a double rainbow by adding a fainter arc above the first, mirroring the color order but with less intensity.
- Reflected Beauty: Challenge yourself by depicting a rainbow reflected in water, creating a mirrored image below the surface.

Frequently Asked Questions (FAQs)
For beginners, a simple arc divided into seven color sections is the easiest way. Use crayons or colored pencils for easy blending.
The traditional rainbow colors follow the mnemonic “Roy G. Biv”: Red, Orange, Yellow, Green, Blue, Indigo, Violet.
No! Paper, pencil, and any coloring medium you have (crayons, markers, paints) will work.