Creating a rabbit drawing is a delightful and expressive artistic endeavor that allows one to capture the charming essence of these small, furry creatures. Begin by sketching the basic outline of the rabbit, focusing on defining its characteristic long ears, round body, and fluffy tail. Pay attention to the proportions, ensuring that the features complement each other in a harmonious way. As you progress, add details such as the rabbit’s whiskers, eyes, and paws to bring your drawing to life.
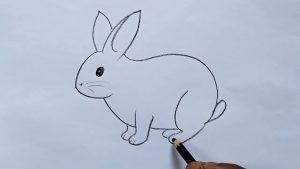
A Guide to Rabbit Drawing
Rabbits are adorable creatures with their twitchy noses, fluffy tails, and expressive ears. They’re a popular subject for artists of all levels, and capturing their charm on paper can be both fun and rewarding.
This guide will walk you through the basic steps of drawing a rabbit, from simple shapes to the finishing touches. Whether you’re a complete beginner or just looking to brush up on your skills, you’ll find helpful tips and tricks along the way.
Materials:
- Pencil
- Eraser
- Drawing paper
- Optional: colored pencils, markers, or paints
Mastering the Basics of Rabbit Drawing
Building on your foundational rabbit drawing skills, let’s delve deeper into mastering those adorable floppy ears and expressive noses! This guide will equip you with advanced techniques to elevate your bunnies from basic sketches to captivating creations.
Anatomy and Proportion:
- Head and Body: Go beyond simple ovals. Study rabbit anatomy: the head sits atop a flexible neck, and the body tapers slightly towards the hindquarters. Pay attention to the length and placement of the legs – front legs shorter than back, positioned just under the chest and near the back.
- Ears: Don’t just draw long ovals! Vary the thickness and curve depending on the breed. Lop-eared rabbits, for example, have floppy curves with wide bases. Consider ear position; do they perk straight up, droop with slight movement, or flop completely sideways?
- Facial Features: Eyes come in various shapes and sizes depending on the breed. Whiskers, crucial for rabbit sensing, should splay out from the nose in delicate lines. Don’t forget the charming pink triangles inside the ears!
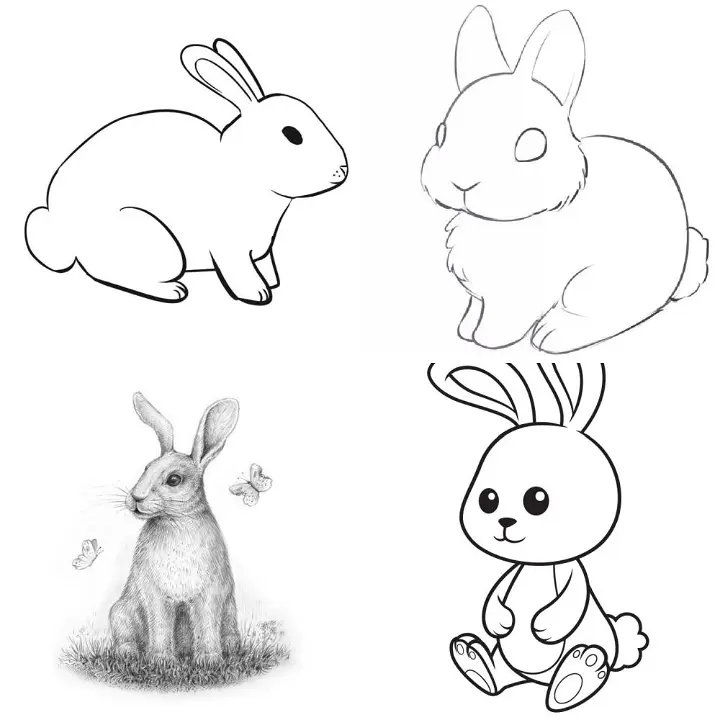
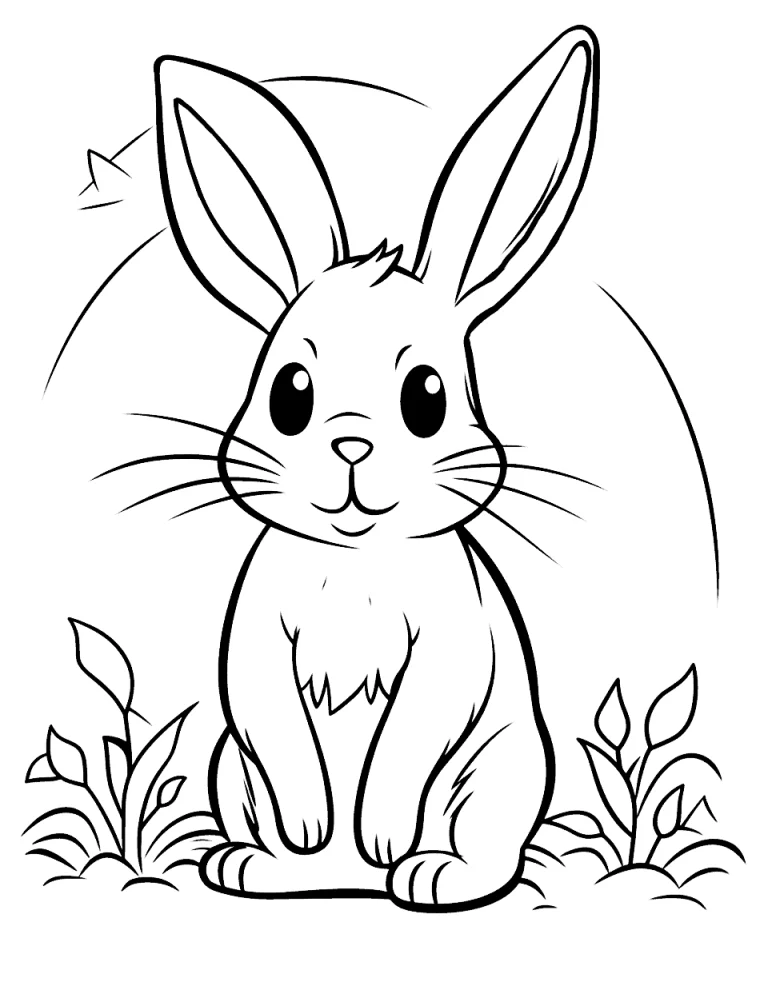
Rabbit Drawing for Beginners
Hopping into the world of rabbit drawing? Perfect! This guide will hop with you through the basic steps, making cute bunnies a breeze to create.
Materials:
- Pencil and eraser
- Drawing paper
- Optional: colored pencils, markers, or paints
Let’s Draw!
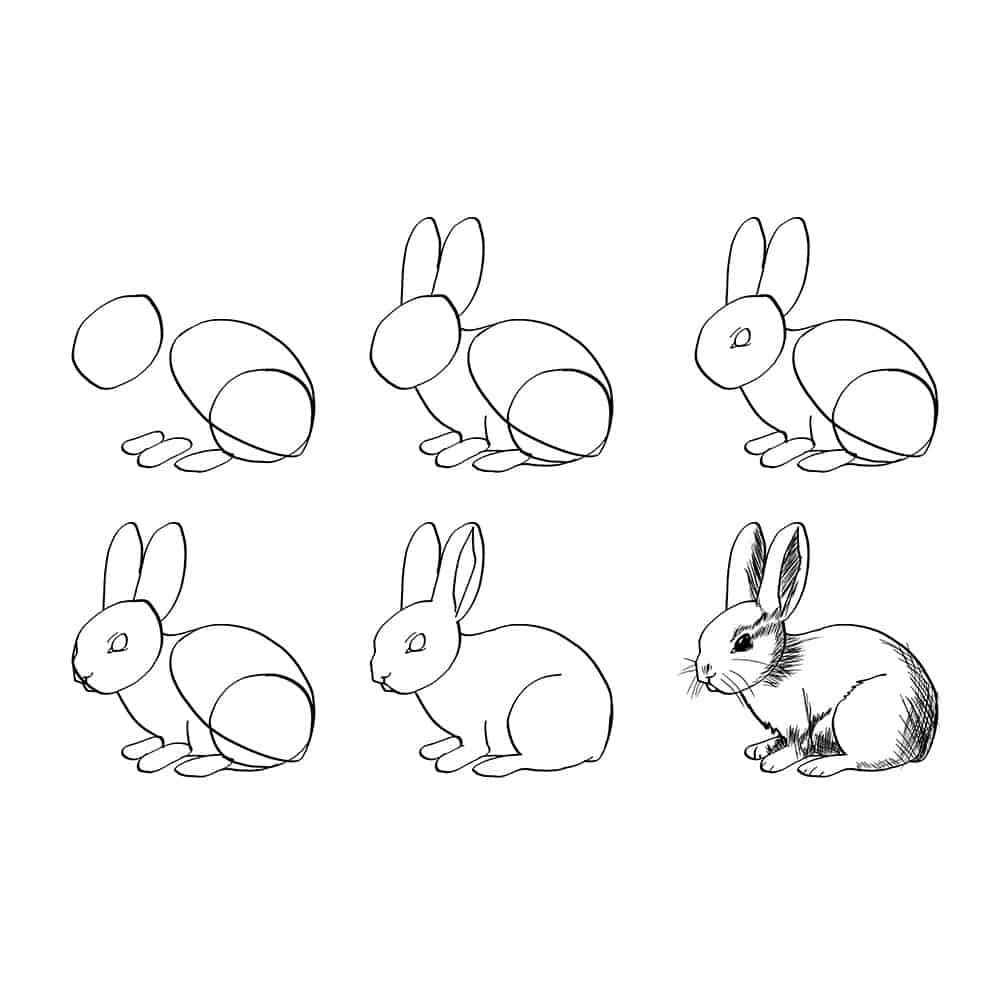
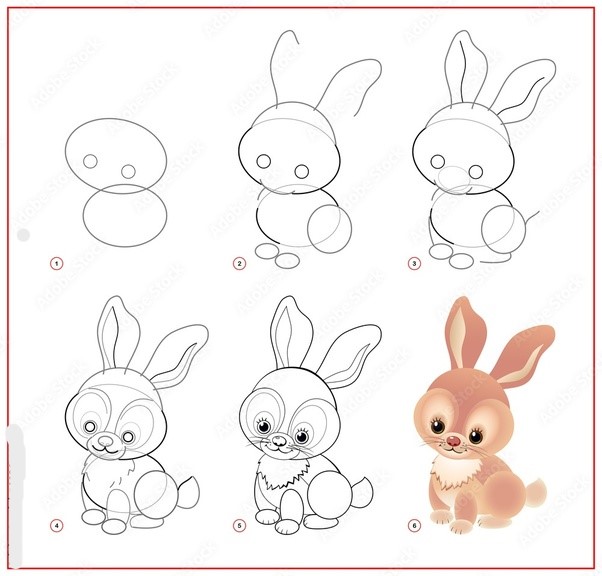
- Egg-cellent Start: Begin with two ovals – a larger one for the body and a smaller one on top for the head. Imagine them like eggs stacked on end!
- Floppy Fun: Draw two long, curvy lines from the top of the head for the ears. Remember, they can droop, perk up, or even be floppy for extra cuteness!
- Leggy Friends: Sketch four short lines with little circles at the ends for the legs. Front legs go under the chest, back legs near the rear.
- Face the Facts: Inside the head, draw two circles for eyes (big and sparkly!), a smaller circle for the nose (pink is optional!), and two short lines for whiskers (they twitch!). Don’t forget the cute little triangles inside the ears!
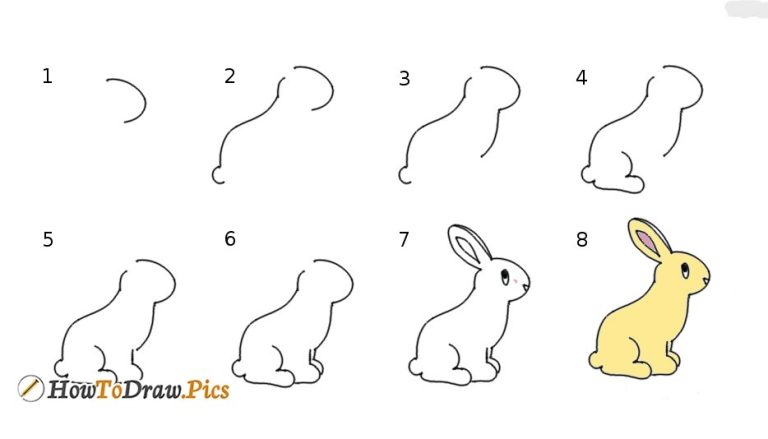
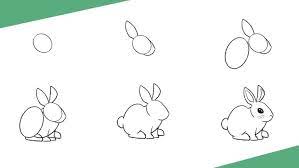
A Step-by-Step Rabbit Drawing Tutorial
Let’s dive into a step-by-step rabbit drawing tutorial that’s perfect for beginners and seasoned drawers alike. We’ll capture the charm of these fluffy creatures with simple shapes and easy-to-follow instructions.
Materials:
- Pencil
- Eraser
- Drawing paper
- Optional: colored pencils, markers, or paints
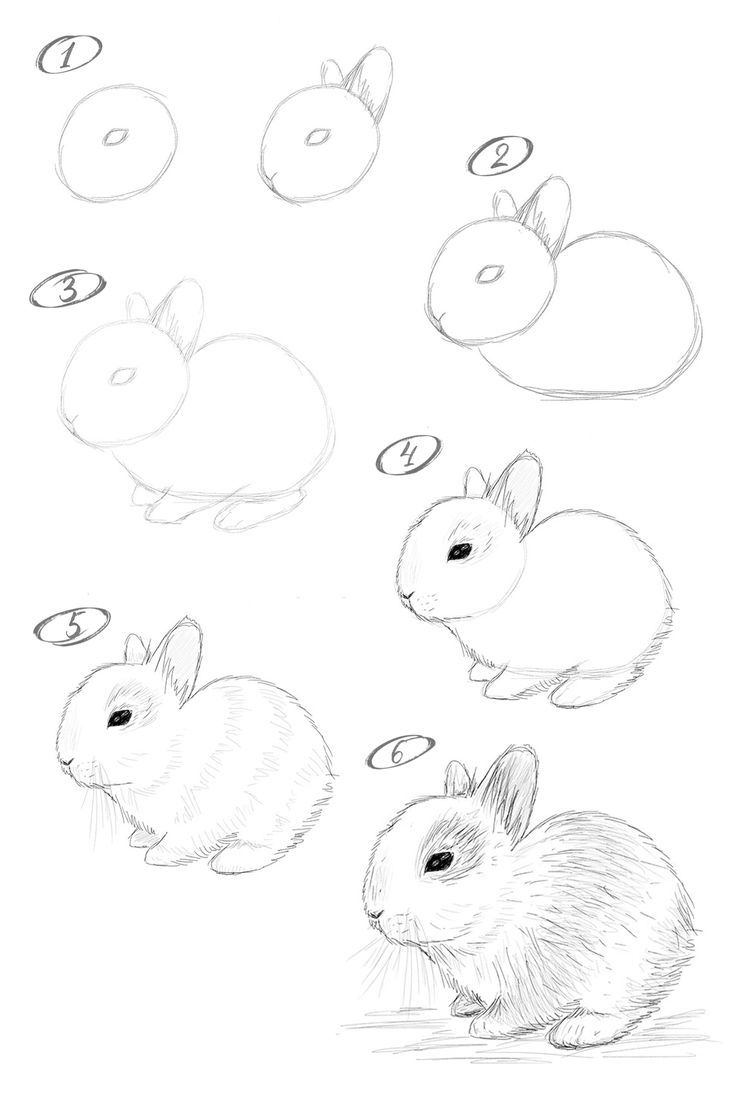
Step 1: Basic Shapes
Start by lightly sketching three basic shapes:
- Large oval: This will be the rabbit’s body.
- Smaller oval: Draw this one above the large oval, slightly overlapping, for the head.
- Circle: Add a small circle below the body for the tail.
Rabbit Drawing Techniques
Ready to take your rabbit drawings beyond the beginner level? Let’s explore some advanced techniques to add depth, character, and realism to your fluffy creations.
Anatomy and Proportion:
- Move beyond basic shapes: Study rabbit anatomy – the curved spine, the flexible neck, the leg placement. Use ovals and ellipses to define muscles and body segments for a more natural look.
- Ear variations: Explore different breeds and ear shapes – lop-eared, long-eared, even upright ears. Consider texture and fur coverage on the ears.
- Eye details: Eyes tell a story! Experiment with pupil shapes, reflections, and tear ducts for different expressions. Pay attention to the eyebrow line and fur around the eyes.
Frequently Asked Questions (FAQs)
Begin by sketching the basic shapes – circles for the body and head, ovals for ears, and lines for limbs. Gradually refine the details as you gain confidence.
Pencils, erasers, and paper are essentials. Colored pencils or watercolors can add vibrancy. Experiment to find what suits your style.
Drawing a realistic rabbit involves paying attention to details, proportions, and shading. Here’s a step-by-step guide to help you draw a realistic rabbit:
Materials:
- Drawing paper
- Pencils (2H, HB, 2B, and 4B for shading)
- Erasers (kneaded and precision)


