Pixel code

Flower Pot Drawing : Tips for Drawing

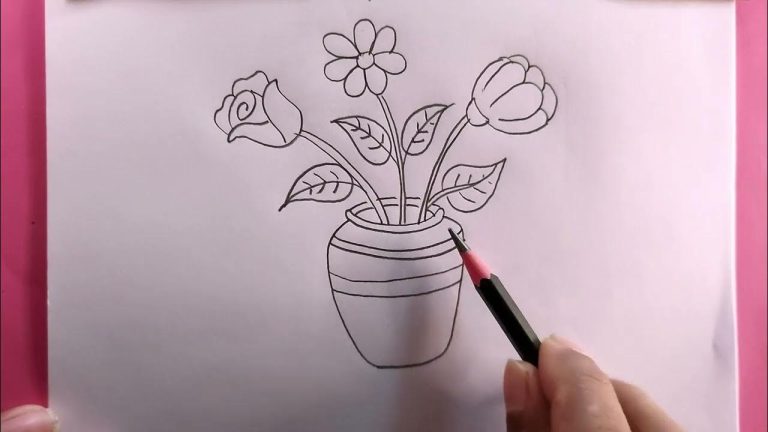
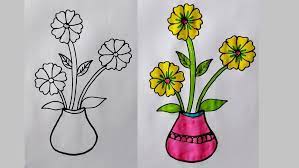
Flower Pot Drawing can be a delightful and creative endeavor, allowing artists to capture the beauty of nature in a simple yet charming composition. Begin by sketching the basic outline of the pot, ensuring its proportions are visually appealing. The pot’s contours can vary, from traditional terracotta to more modern or ornate designs

Flower Pot Drawing1

A Guide to Flower Pot Drawing

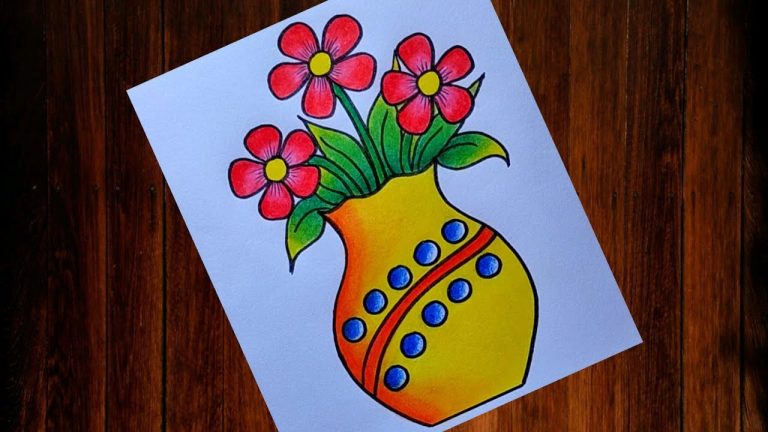
Drawing a flower pot is a great way to get started with drawing still life. It’s a simple object with interesting shapes and textures, and it can be dressed up with flowers, leaves, and other details to make it your own.

Here’s a basic guide to get you started:

Materials:

  • Pencil
  • Eraser
  • Drawing paper
  • Colored pencils, crayons, or markers (optional)

Steps:

  1. Start with basic shapes. Begin by lightly sketching the basic shapes of the flower pot. A typical flower pot is cylindrical, so you can start with a circle for the top and another circle for the bottom. Then, connect the circles with straight lines to form the sides.
Flower Pot Drawing2
Flower Pot Drawing3

Mastering the Basics of Flower Pot Drawing

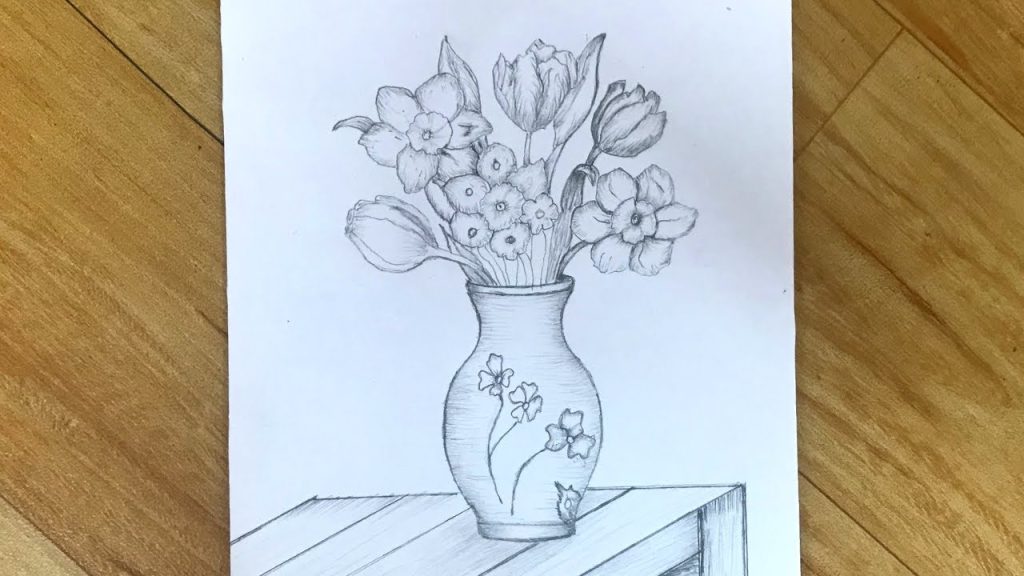
Flower Pot Drawing pot is a fantastic way to hone your still life drawing skills. It’s a simple object with intriguing shapes and textures, and you can customize it with flowers, leaves, and other details to express your creativity.

Here’s a comprehensive guide to help you master the basics of flower pot drawing:

Materials:

  • Pencil: A versatile HB pencil is a great starting point. You can use softer pencils (e.g., 2B) for darker shades and harder pencils (e.g., 2H) for lighter tones.
  • Eraser: A kneaded eraser allows for precise removal of unwanted marks.
  • Drawing paper: Use smooth, textured paper specifically designed for drawing for optimal results.
  • Colored pencils, crayons, or markers (optional): These can add vibrancy and personality to your artwork.
Flower Pot Drawing4
Flower Pot Drawing5

Flower Pot Drawing for Beginners

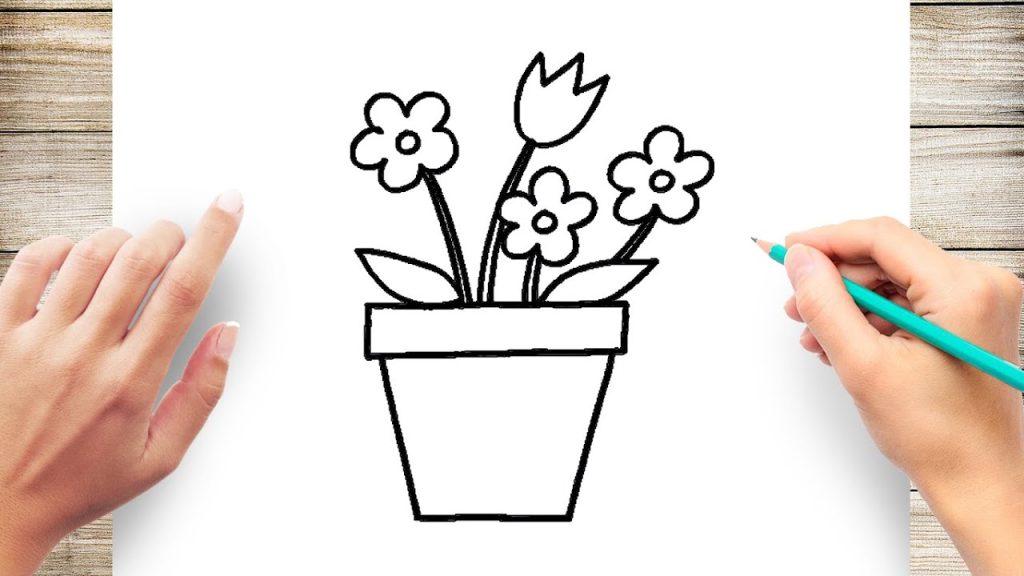
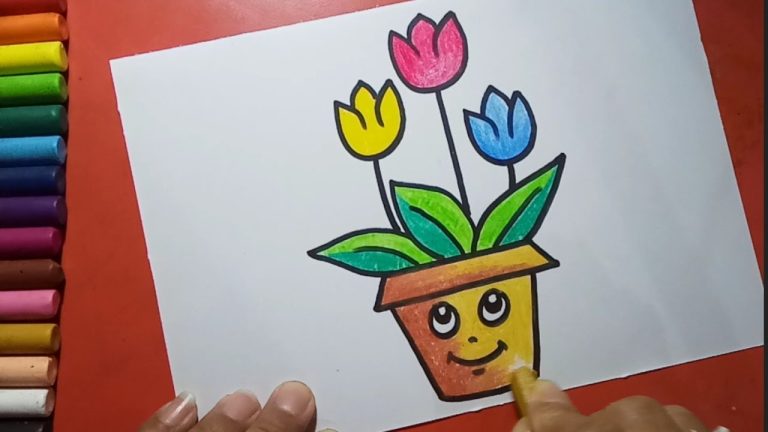
Let’s dive into the delightful world of drawing with a simple yet charming subject: Flower Pot Drawing! This guide will walk you through the steps, making it perfect for even absolute beginners.

Gather your materials:

  • Pencil (HB is a good starting point)
  • Eraser
  • Drawing paper
  • Colored pencils (optional, for adding flourish)

Steps:

  1. Start with the base: Draw a light circle near the bottom of your paper. This will be the base of your flower pot.
  2. Shape the sides: Above the circle, draw two curved lines gently inwards, then outwards to form the body of the pot. Imagine a slightly squished cylinder.
Flower Pot Drawing6
Flower Pot Drawing7

A Step-by-Step Flower Pot Drawing

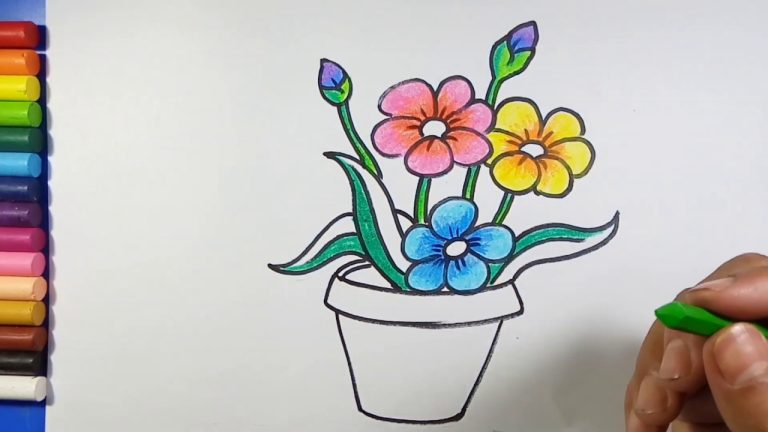
Drawing a flower pot is a wonderful way to practice basic shapes, shading, and textures, making it a perfect project for artists of all levels. Let’s dive into a step-by-step guide that will help you bring a charming flower pot to life on paper:

Gather your materials:

  • Pencil (HB is a good starting point)
  • Eraser
  • Drawing paper
  • Colored pencils (optional, for adding flourish)

Steps:

  1. Start with the base: Draw a light circle near the bottom of your paper. This will be the base of your flower pot.
  2. Shape the sides: Above the circle, draw two curved lines gently inwards, then outwards to form the body of the pot. Imagine a slightly squished cylinder.
Flower Pot Drawing8
Flower Pot Drawing9

Flower Pot Drawing Techniques

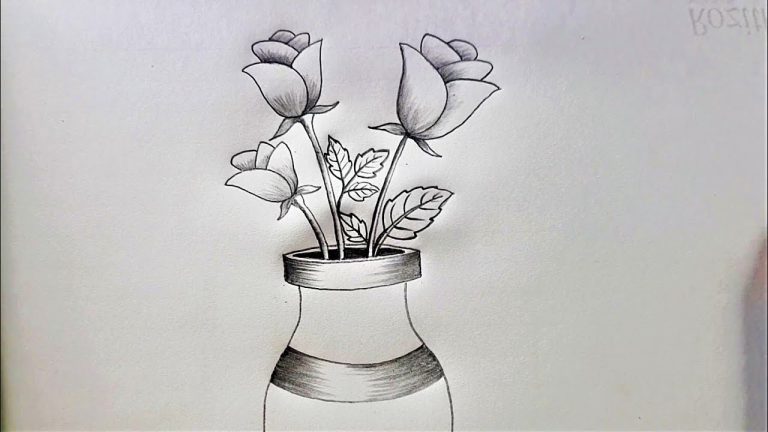
There are many different techniques you can use to draw a flower pot, depending on the desired level of detail and realism. Here are a few popular methods:

  • Basic shapes: This is a great technique for beginners. Start by drawing simple shapes, such as a circle for the base and a cylinder for the body of the pot. Then, add details like drainage holes, rim, and any patterns or textures.
  • Contour drawing: This technique involves drawing the outlines of the flower pot without lifting your pencil from the paper. This can help to capture the overall form of the pot and create a sense of movement.
  • Cross-hatching: This technique is used to create shading and depth. To cross-hatch, draw lines in two different directions that overlap each other. You can vary the density of the lines to create different shades of gray.
     
Flower Pot Drawing10

Frequently Asked Questions (FAQs)

To draw a flower pot, you can use basic drawing materials like pencils, erasers, and paper. If you want to add color, consider using colored pencils, markers, or watercolors.

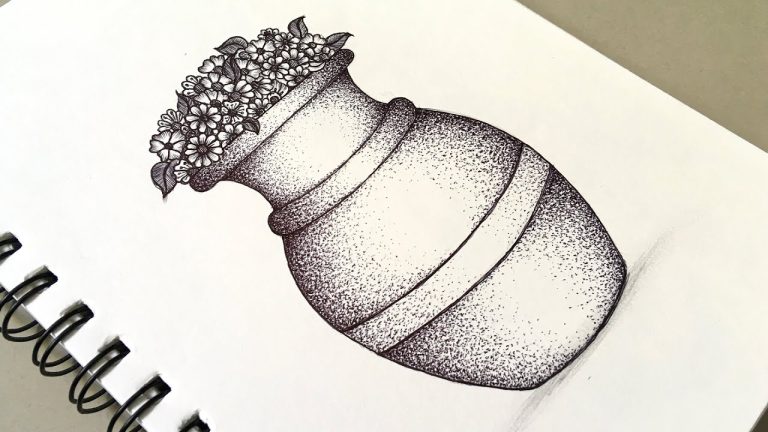
Begin by sketching the basic shape of the pot. Pay attention to proportions and details. Once the pot is outlined, add the flowers by drawing their individual petals and leaves. Consider the type of flowers you want to depict.

Absolutely! Drawing a flower pot can be a great starting point for beginners. Start with simple shapes and gradually add details. Practice will help improve your skills over time.

Most Popular Links

Career Tests

21st Century Test For Working Professionals
Graduates & Post Graduates
21st Century Test For 12th
21st Century Skills & Learning Test Grade 12
21st Century Test For 11th
21st Century Skills & Learning Test Grade 11
21st Century Test For 10th
21st Century Skills & Learning Test Grade 10
Career Test (1)
PSYCHOMETRIC IDEAL CAREER TEST™
Skill Based Career Test 1
PSYCHOMETRIC SKILL BASED TEST FOR 9TH
Engineering Branch Selector
PSYCHOMETRIC ENGINEERING SELECTOR
Professional Educator Index
PSYCHOMETRIC EDUCATOR PROFESSIONAL SKILLS
Stream Selector Test
PSYCHOMETRIC STREAM SELECTOR™
Commerce Career Test
PSYCHOMETRIC COMMERCE CAREER SELECTOR
Humanities Career Test
PSYCHOMETRIC HUMANITIES CAREER SELECTOR
Professional Skill Test
PSYCHOMETRIC PROFESSIONAL SKILL INDEX

Recent Posts

People Also Viewed

Top Private Universities

Most Popular Universities

Trending Colleges

Upcoming Exams

21st Century Skills & Learning Test

Career Counselling Services

Popular Exams

Most Popular Article's