Drawing fruits can be a delightful and refreshing artistic exercise, allowing you to capture the vibrant colors and diverse textures of nature’s bounty. Begin by selecting the fruit you want to draw and observe its shape and features. Whether it’s the roundness of an apple, the elongation of a banana, or the intricate segments of an orange, focus on representing the fundamental contours accurately.
A Guide to Fruits Drawing
Drawing fruits is a delightful way to explore color, texture, and shape. Whether you’re a seasoned artist or just starting out, this guide will offer tips and tricks to make your fruity creations pop!
Materials:
- Pencils (HB, 2B, or charcoal for shading)
- Eraser
- Drawing paper (smooth or textured)
- Optional: Colored pencils, crayons, markers, or watercolors
Step 1: Choose Your Fruit & Gather Inspiration:
Start by picking your favorite fruit, or one with an interesting shape and texture. Look at real fruits or high-quality pictures for inspiration. Pay attention to:
- Color variations and gradients: Fruits have subtle color shifts and highlights.
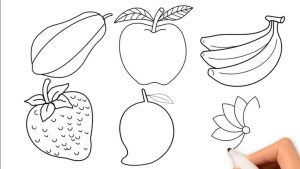
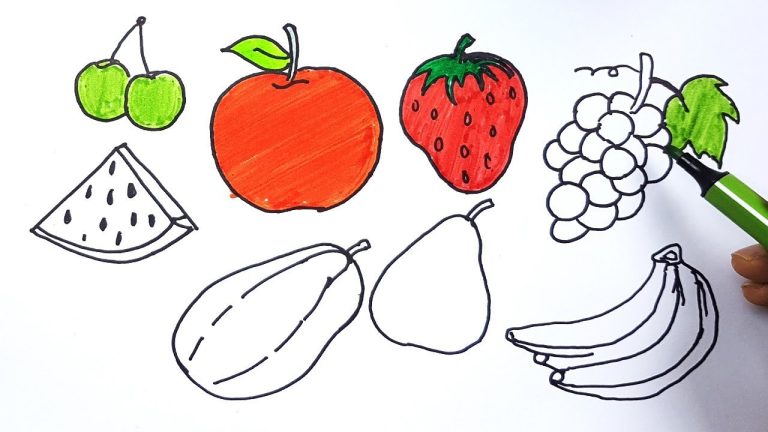
- Shapes and proportions: Apples are round, bananas are curved, and strawberries are heart-shaped – each fruit is unique!

Mastering the Basics of Fruits Drawing
Ready to take your fruit drawing game to the next level? Let’s delve deeper and master the basics, transforming your artwork into a vibrant orchard of juicy possibilities!
1. Understanding Fruit Anatomy:
Before diving in, familiarize yourself with the basic structure of different fruits. Consider these key elements:
- Shape: Apples are spheres, oranges are oblates, strawberries are hearts – each variety has a unique form.
- Stem and leaves: These features can add character and context to your drawing.
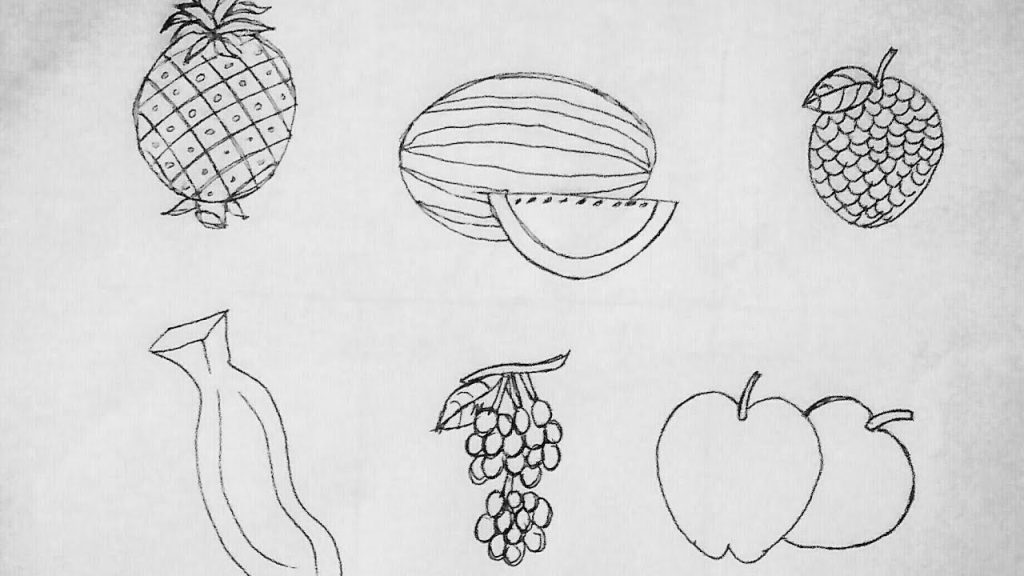
- Skin or peel: Texture plays a crucial role! Rough skin, smooth peels, or fuzzy surfaces all translate differently.
- Segments or sections: Oranges have segments, melons have wedges – understand how the fruit divides naturally.
- Seeds and pits: For some fruits, these internal structures add detail and realism.
Fruits Drawing for Beginners
Ready to add some juicy goodness to your artwork? This guide will whisk you away on a colorful journey, transforming you into a fruit-drawing whiz, even if you’re just starting out!
Materials:
- Pencil (HB for sketching, 2B for shading)
- Eraser
- Drawing paper (smooth or textured)
- Colored pencils (optional)
Step 1: Pick Your Perfect Fruit:
Start with a fruit you love, or one with a simple shape like an apple or pear. Real fruits or high-quality pictures can be your best friends!
Step 2: Sketching the Fruity Fun:
- Light and gentle: Grab your HB pencil and sketch the basic shape of your fruit with light, airy strokes. Don’t worry about perfection, just capture the overall form.
- Round and round (or not!): Apples are roundish, bananas are curvy, and strawberries are heart-shaped – remember each fruit has its own personality!
A Step-by-Step Fruits Drawing
Ready to draw a fruit so realistic it practically begs to be eaten? Grab your pencils, paper, and get ready to dive into a step-by-step fruity adventure!
Our star fruit today: A plump, vibrant apple! (Feel free to substitute with your favorite fruit.)
Materials:
- Pencils (HB, 2B, or charcoal for shading)
- Eraser
- Drawing paper (smooth or textured)
- Colored pencils (optional)
Step 1: Shape it Up:
- Light and airy: Use your HB pencil to sketch a light circle for the main body of the apple. Remember, it’s not perfectly round, so add a slight bump at the bottom.
- Stem and leaf whispers: Above the circle, sketch a thin line upwards for the stem, branching into two smaller lines for the leaf. Keep it simple and curved.
Fruits Drawing Techniques
Ready to take your fruit drawing skills to the next level? Let’s delve deeper into some juicy techniques to elevate your artwork from basic sketches to vibrant, realistic masterpieces!
1. Mastering Shading for Depth:
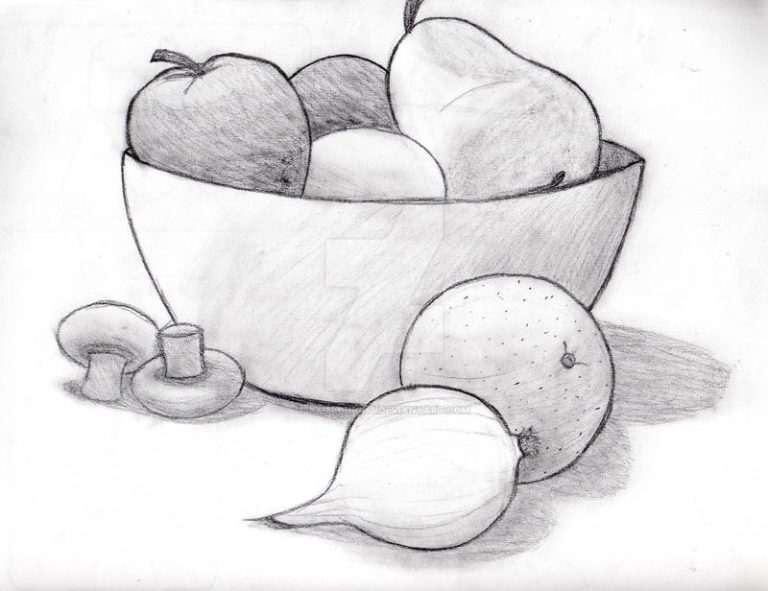
- Layering: Build up layers of light and dark pencil strokes for nuanced shading. Start light and gradually add darker layers for control and depth, especially in areas like hollows and under stems.
- Blending: Use a blending stump, cotton swab, or even your finger to smoothly blend pencil strokes, creating soft transitions. This is crucial for natural-looking highlights and shadows.
- Reflected light: Consider the light source! Add subtle highlights on areas where light bounces off the fruit’s surface, like the bottom curve of an apple or the edges of a grape bunch.
- Cast shadows: Don’t forget the shadow cast by your fruit on the surface below. This adds grounding and realism to your drawing.

Frequently Asked Questions (FAQs)
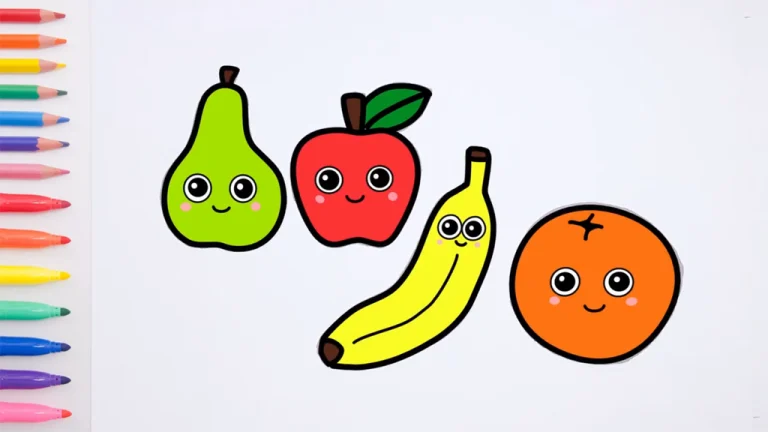
For beginners, it’s often helpful to start with simpler fruit shapes. Apples, bananas, and oranges are great choices. They have relatively uncomplicated forms, making them ideal for practicing basic techniques in shape observation and shading.
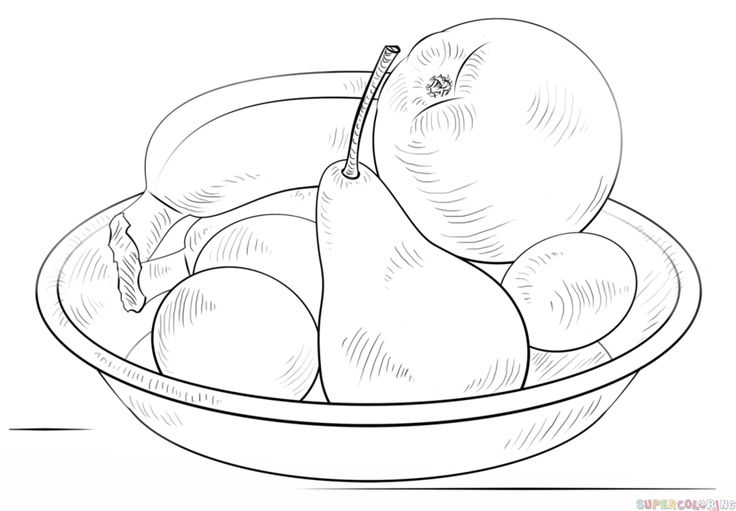
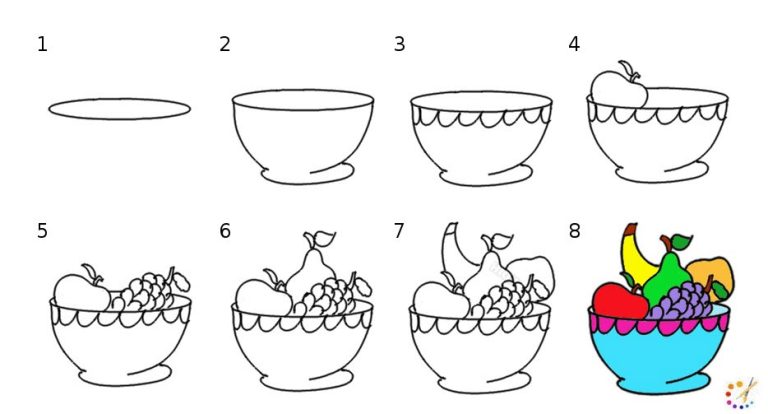
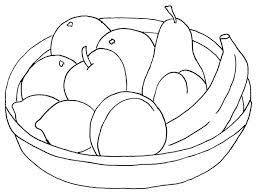
Creating a fruit composition involves arranging multiple fruits in a visually appealing way. Consider the sizes, shapes, and colors of the fruits to achieve balance. Pay attention to negative space, and experiment with different arrangements until you find a composition that is aesthetically pleasing.
Drawing fruit slices requires attention to detail. Start by sketching the basic shape of the fruit, then carefully depict the exposed flesh and seeds. Pay attention to the way light interacts with the interior of the fruit, emphasizing highlights and shadows.